

代码拉取完成,页面将自动刷新


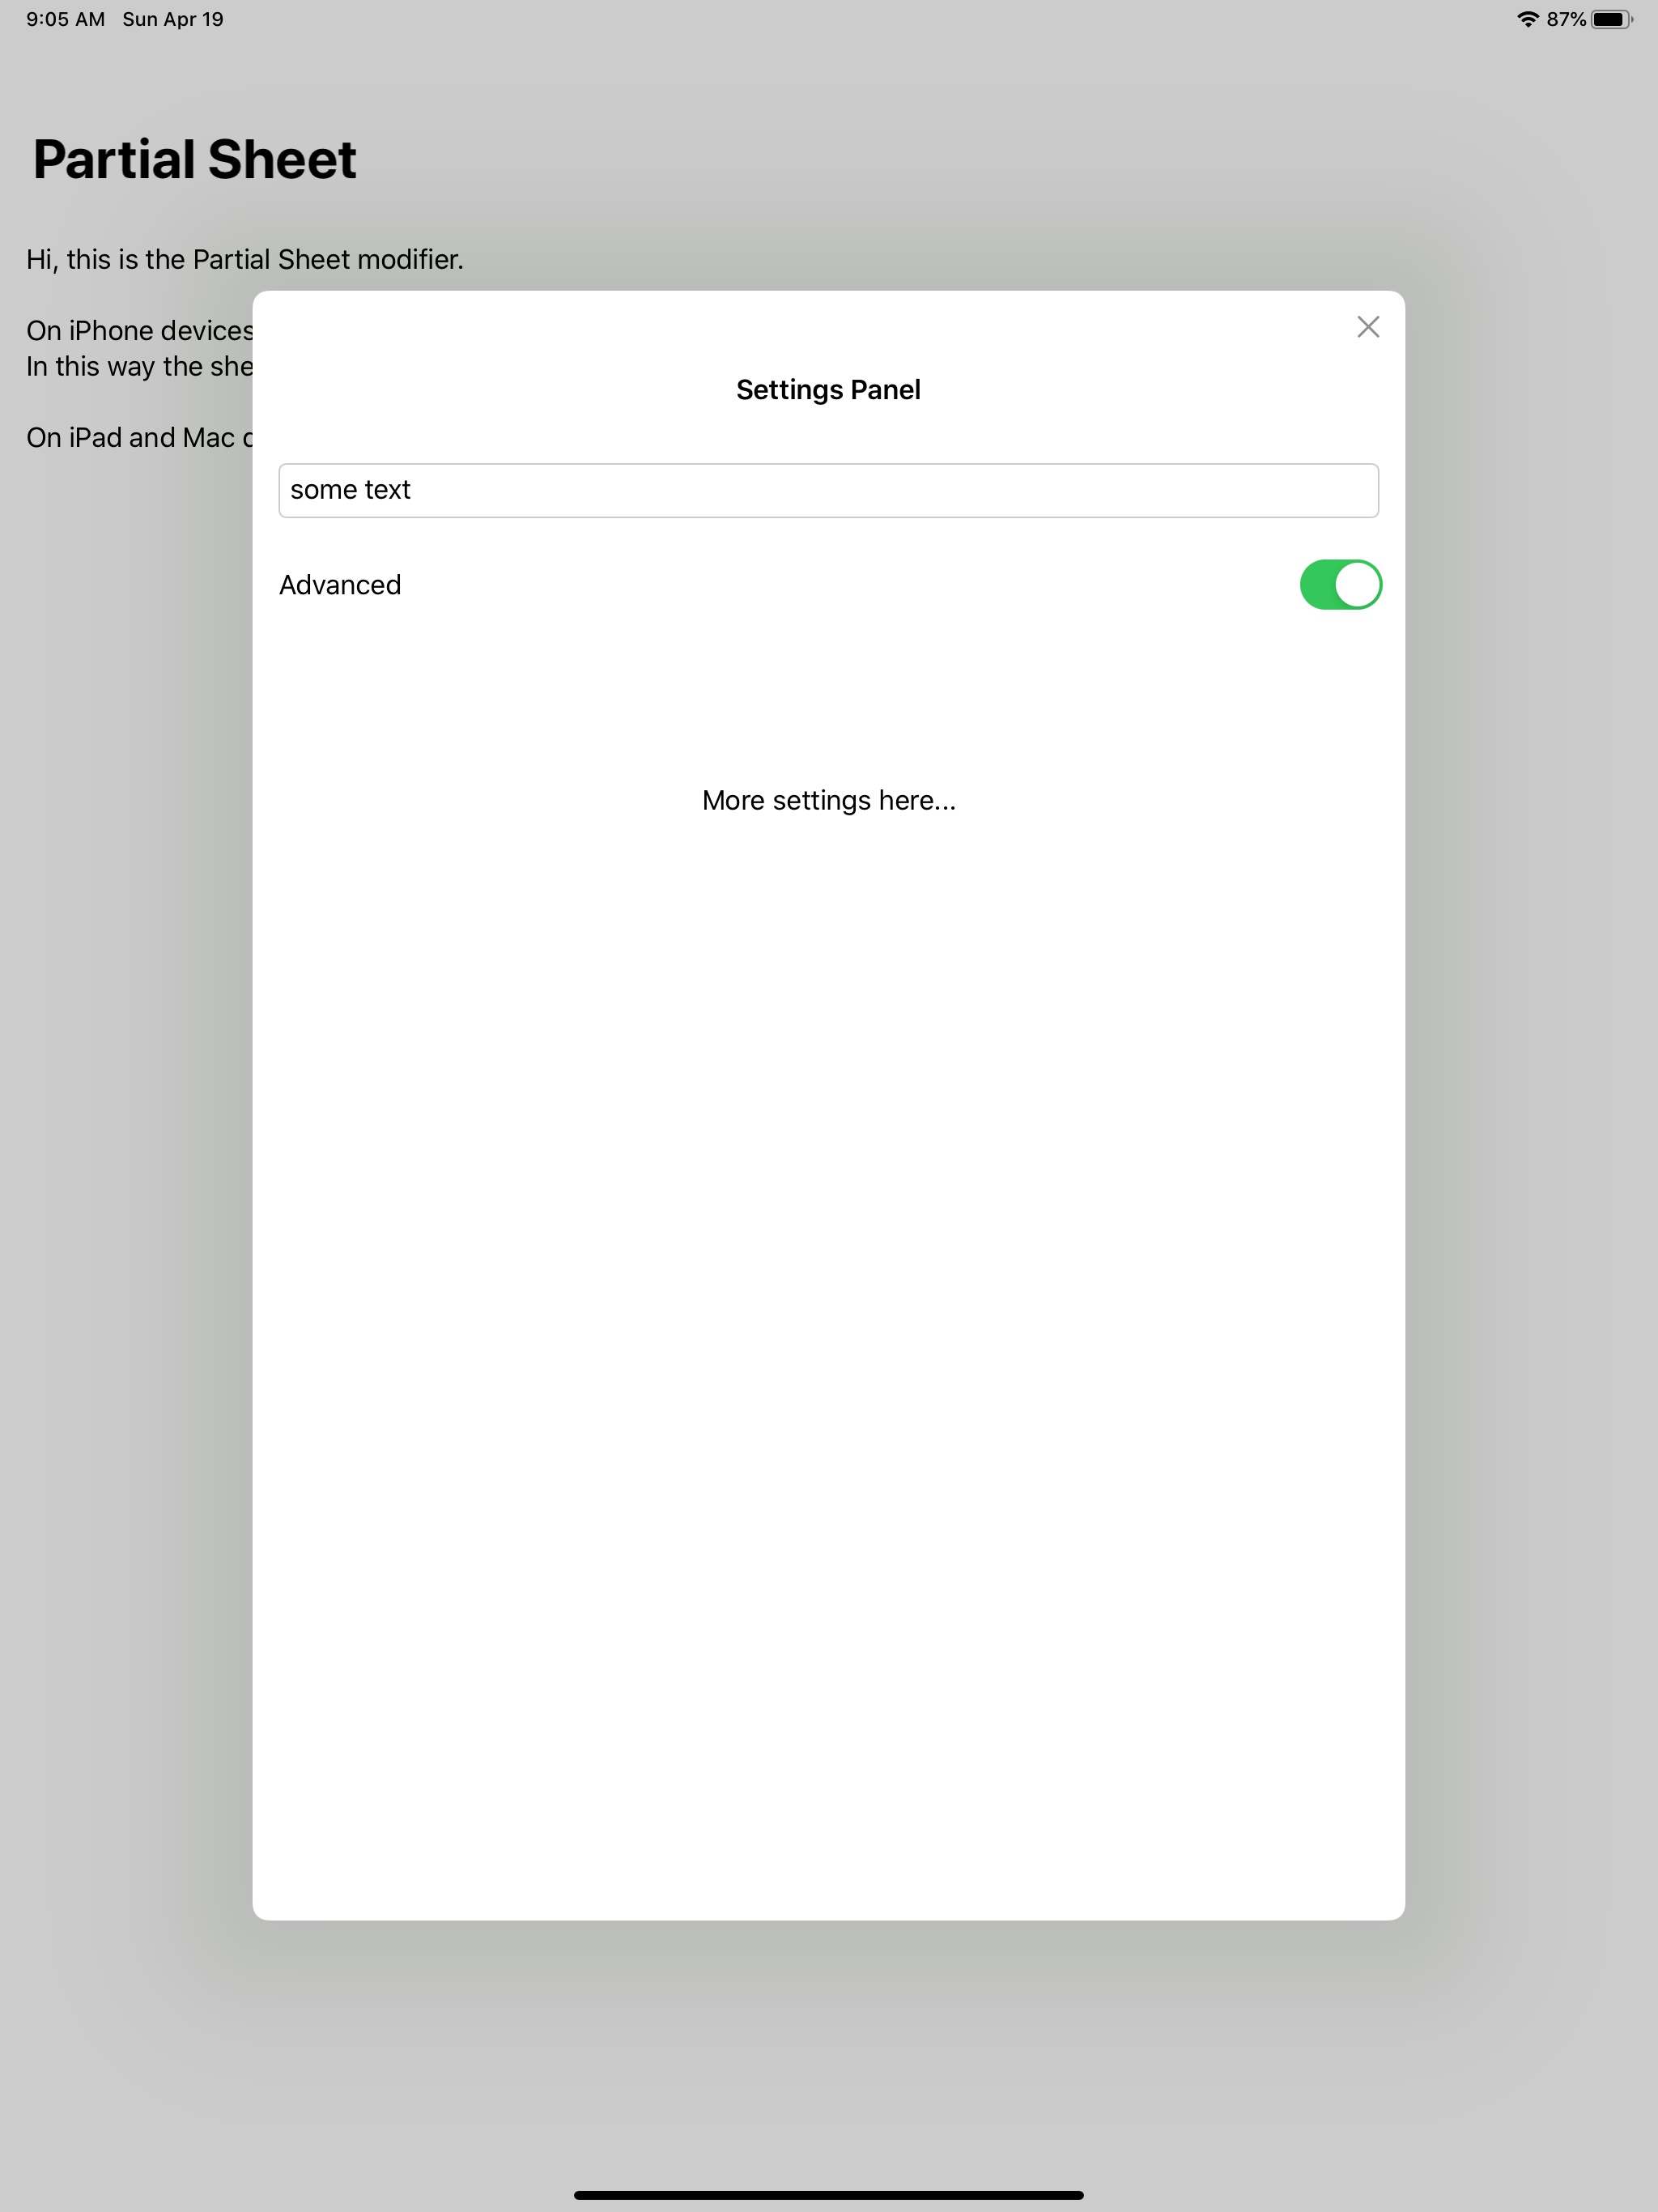
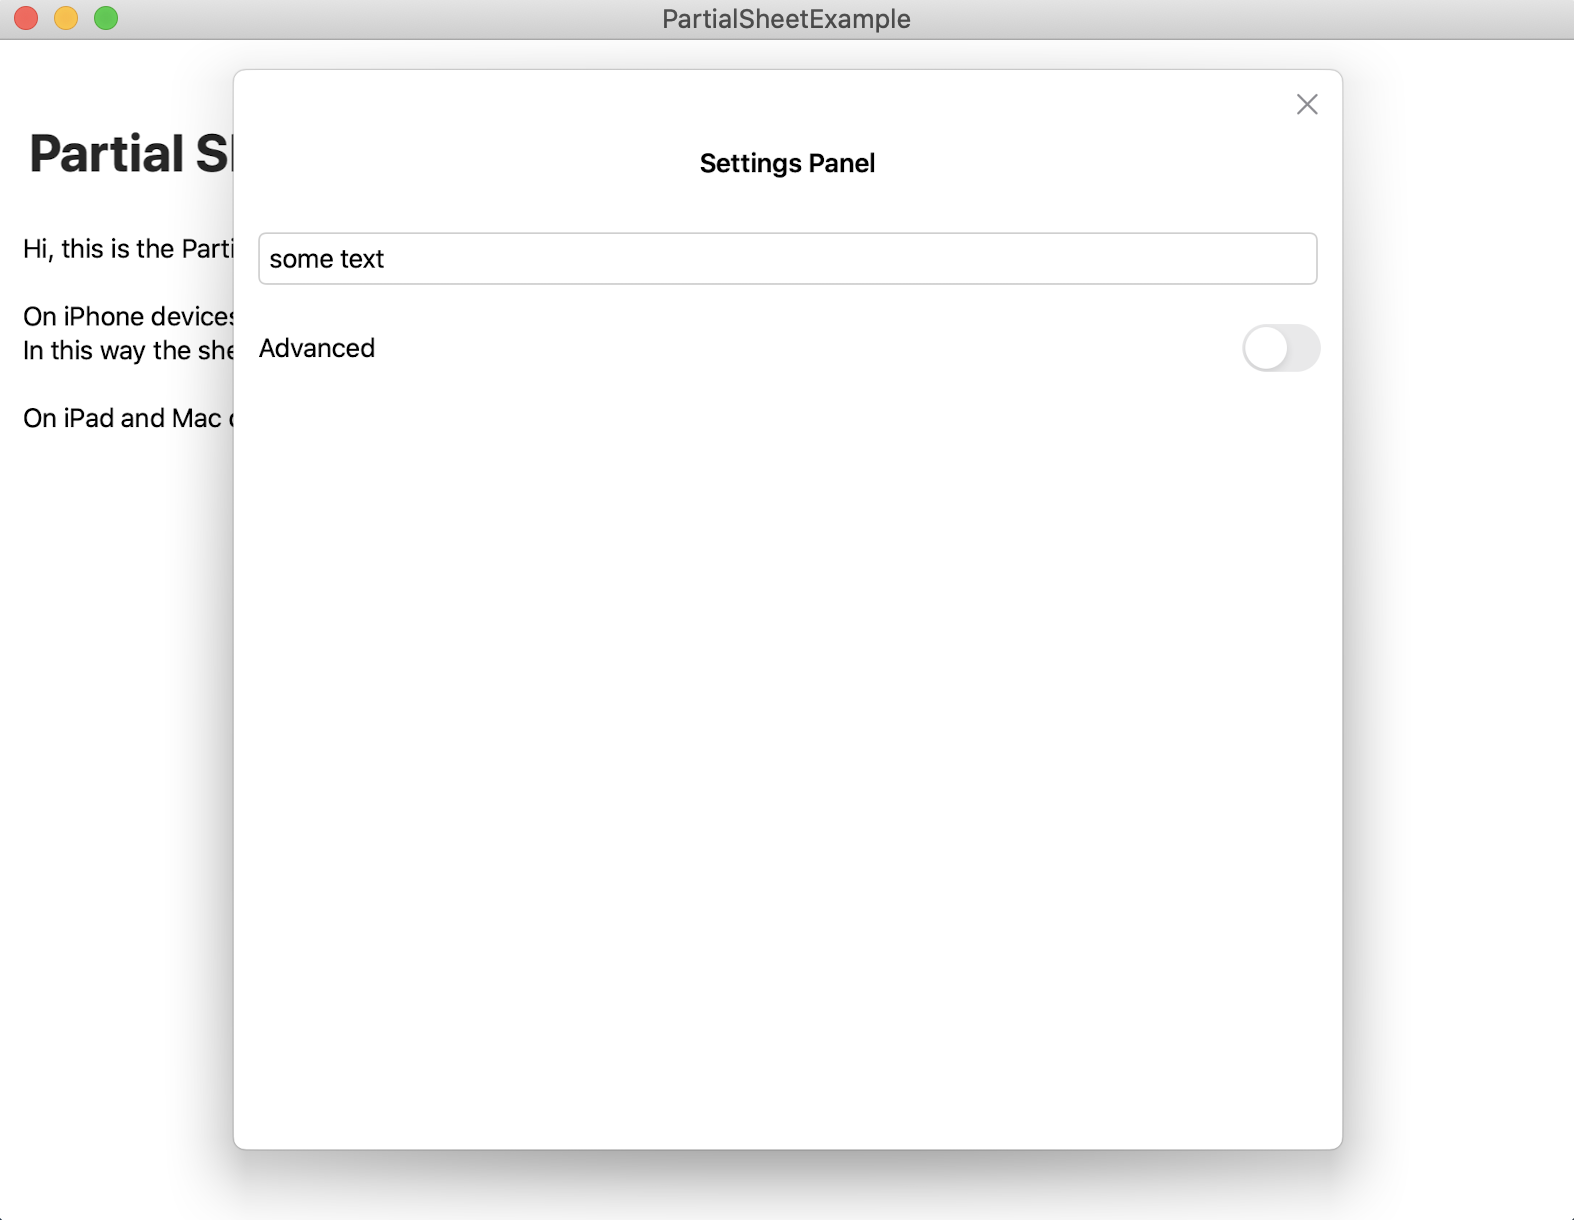
A custom SwiftUI modifier to present a Partial Modal Sheet based on his content size.
Version 2.0 has been released, there are a lot of breaking changes, make sure to read the guide before update!

The new version brings a lot of breaking changes and a lot of improvments:
In Xcode 11 or grater, in you project, select: File > Swift Packages > Add Pacakage Dependency.
In the search bar type PartialSheet and when you find the package, with the next button you can proceed with the installation.
If you can't find anything in the panel of the Swift Packages you probably haven't added yet your github account. You can do that under the Preferences panel of your Xcode, in the Accounts section.
You can read more on the wiki - full guide.
To use the Partial Sheet you need to follow just three simple steps
// 1.1 Create the manager
let sheetManager: PartialSheetManager = PartialSheetManager()
let contentView = ContentView()
    // 1.2 Add the manager as environmentObject
    .environmentObject(sheetManager)

//Common SwiftUI code to add the rootView in your rootViewController
if let windowScene = scene as? UIWindowScene {
    let window = UIWindow(windowScene: windowScene)
    window.rootViewController = UIHostingController(
        rootView: contentView
    )
    self.window = window
    window.makeKeyAndVisible()
}
struct ContentView: View {

    var body: some View {
       ...
       .addPartialSheet(style: <PartialSheetStyle>)
    }
}
showPartialSheet<T>(_ onDismiss: (() -> Void)? = nil, @ViewBuilder content: @escaping () -> T) where T: View func whenever you want like this:@EnvironmentObject var partialSheetManager: PartialSheetManager
...
Button(action: {
self.partialSheetManager.showPartialSheet({
print("Partial sheet dismissed")
}) {
Text("This is a Partial Sheet")
}
}, label: {
Text("Show sheet")
})
You can also show the Partial Sheet using a view modifier:
@State var isSheetShown = false

...

Button(action: {
    self.isSheetShown = true
}, label: {
    Text("Display the ViewModifier sheet")
})
.partialSheet(isPresented: $isSheetShown) {
    Text("This is a Partial Sheet")
}
If you want a starting point copy in your SceneDelegate and in your ContentView files the following code:
func scene(_ scene: UIScene, willConnectTo session: UISceneSession, options connectionOptions: UIScene.ConnectionOptions) {
    let sheetManager: PartialSheetManager = PartialSheetManager()
    let contentView = ContentView()
        .environmentObject(sheetManager)
    if let windowScene = scene as? UIWindowScene {
        let window = UIWindow(windowScene: windowScene)
        window.rootViewController = UIHostingController(
            rootView: contentView
        )
        self.window = window
        window.makeKeyAndVisible()
    }
}
import SwiftUI
import PartialSheet

struct ContentView: View {

    @EnvironmentObject var partialSheet : PartialSheetManager

    var body: some View {
        NavigationView {
            VStack(alignment: .center) {
                Spacer()
                    Button(action: {
                        self.partialSheet.showPartialSheet({
                            print("dismissed")
                        }) {
                            Text("Partial Sheet")
                        }
                    }, label: {
                        Text("Show Partial Sheet")
                    })
                Spacer()
            }
            .navigationBarTitle("Partial Sheet")
        }
        .navigationViewStyle(StackNavigationViewStyle())
        .addPartialSheet()
    }
}


struct ContentView_Previews: PreviewProvider {
    static var previews: some View {
        ContentView()
    }
}
Remember to always add import PartialSheet in every file you want to use the PartialSheet.
In the Example directory you can find more examples with more complex structures.
When using pickers it is needed to register an onTapGesture. This some how makes the picker being able to reconize the drag before the dragGesture on the sheet.
struct PickerSheetView: View {
    var strengths = ["Mild", "Medium", "Mature"]
    @State private var selectedStrength = 0

    var body: some View {
        VStack {
            VStack {
                Text("Settings Panel").font(.headline)
                Picker(selection: $selectedStrength, label: EmptyView()) {
                    ForEach(0 ..< strengths.count) {
                        Text(self.strengths[$0])
                    }
                }.onTapGesture {
                    // Fixes issue with scroll
                }
            }
            .padding()
            .frame(height: 250)
        }
    }
}
此处可能存在不合适展示的内容,页面不予展示。您可通过相关编辑功能自查并修改。
如您确认内容无涉及 不当用语 / 纯广告导流 / 暴力 / 低俗色情 / 侵权 / 盗版 / 虚假 / 无价值内容或违法国家有关法律法规的内容,可点击提交进行申诉,我们将尽快为您处理。


